Create VPNs / assign groups
- How to get into the ordering process: Order Management
- Under the menu item Groups you can create and manage new VPN groups.
- As soon as you have successfully created a group, you can connect it to other groups.
- By default, the groups are not connected to one another.
- In the menu item Groups > Group connections, you see how many groups have been created and which are connected to each other
- Connections to other networks such as LAN-Interconnect or DCS are currently only possible with the “corp” default group.
- Other groups cannot be reached from outside, even if they are connected to the “corp” default group.
Create a group
- Menu item: Groups
- Create group
- Assign a Group name
- Confirm entries with OK and Save
Assign group to location
- menu item: locations
- Select the corresponding location tile
- Connected groups > Connect new group
- You can enter all values for a new group at a location directly or apply a template
- For self-created groups, you can change the VLAN tag under Connected Groups by clicking on the corresponding group
- Select group
- Confirm the entries with OK and Save
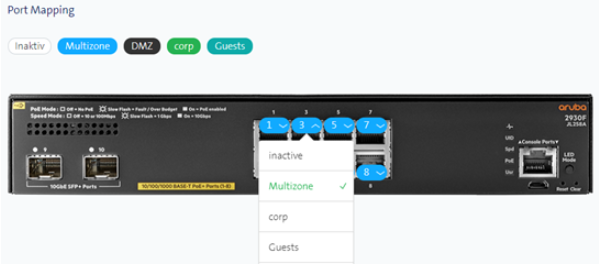
Assign group to switch/port
- Under locations > Switches you can assign the group to a switch/port:
Complete configuration
- All configurations are not actively written to the network components until you have sent the shopping cart.
- You can do this after each step or (recommended) only after several steps.